Click here for part I of this series.
Click here for part II of this series.
It's been nearly a year since I began my Rock Work 101 tutorial. At last I can conclude the series with the completion of the primary scenic feature on the TMMC, Baxter's Butte. Thanks for sticking around this long.
 |
Baxter's Butte. They sky was added in Photoshop. I need to get to work on that backdrop.
|
Gettin' it Done
Baxter's Butte is my not-so-subtle homage to renowned Disney Imagineer Tony Baxter. Tony was the primary creative force behind the Big Thunder Mountain Railroad attractions and naming my 1/4" scale butte after him was the very least I could do.
The butte is not attached to the railroad base and comes off easily for detailing at the workbench. I planned it this way so that if I ever have to move the railroad again (God forbid) I can still get it through the door.
 |
Here's about where we left things at the end of part II.
|
 |
What we have here is a mix of carved Balsa Foam and pink polystyrene foam insulation board. I use the pink stuff for a base and as filler to save on the cost of the Balsa-foam.
|
 |
Some creative engineering was required to build a tunnel through the butte.
|
Filling and Sculpting
The first step to finishing the butte will be filling all of the cracks, crevasses and holes where different pieces of foam meet up, and then blending it all together to make it look natural. I use a couple of different products for this. The first is good old fashioned house-hold spackling compound, available at any Home Depot or Lowe's.
 |
Note that Woodland Scenics sells a product they call "Foam Putty." It is exactly the same thing as this but for twice the price. I prefer spackle.
|
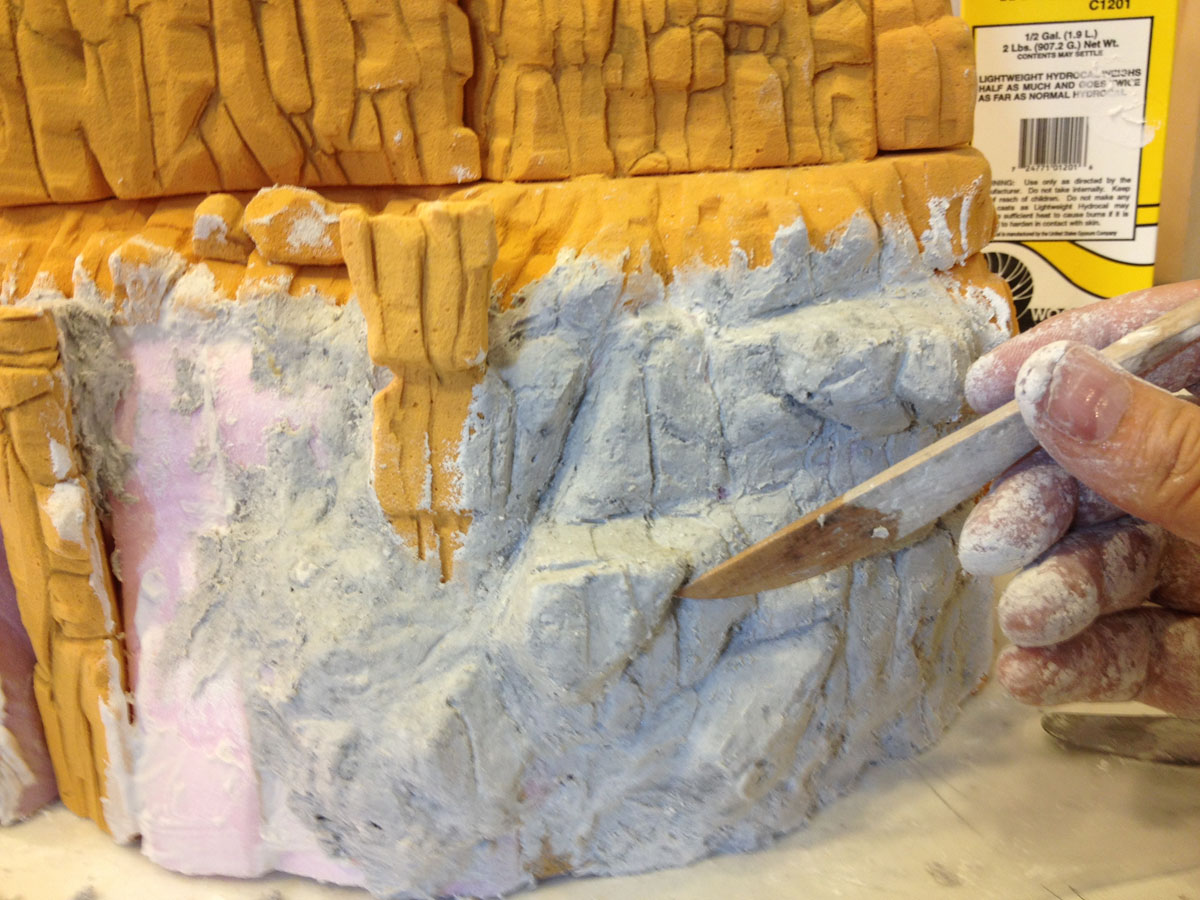
The other thing I like to use is a casting and sculpting media called
Sculptamold. Unfortunately, Sculptamold is getting hard to find in the rural area in which I live. If I want it I have to order it and have it shipped. I've got some on the way now, but didn't really want to wait to finish this project. Instead, I created my own by mixing
Celluclay (paper mache) and
Lightweight Hydrocal plaster, about 1:1 with just a little water. This formed a nice gooey paste that I could squeeze and mold into the places I needed it. The Celluclay gives the mixture body while the Hydrocal gives it strength and speeds up drying time.
 |
Filling cracks with spackle. The trick here is to push it into the cracks and then tease it up to blend with the surrounding rocks. It's a little difficult because the spackle does not want to stick to the dusty Balsa Foam right away and it takes some patience to work it in.
|
 |
Sculpting the Celluclay-Hydrocal goop. I mix up small batches at a time and then trowel it on with a butter knife. It's a lot like frosting a cake. Once it begins to set up (about 5-10 minutes) I go back and sculpt and shape it with a variety of tools, including pencils, hobby knives and my fingers. The idea is to blend it with the carved Balsa Foam rocks and to mimic their look. Here I'm using a clay sculpting tool.
|
After the patching and sculpting was done, I let everything dry overnight.
 |
Letting it all dry.
|
 |
Testing the fit on the layout.
|
The Wonderful World of Color
Time to paint! This is where the magic really happens; transforming a lump of foam and plaster into believable scenery. I use artist's acrylics to get this done, starting with a base of tan latex paint.
 |
Starting at the top and working my way down, I paint everything with my scenery base color. It's a flat latex from Glidden called "French Mustard." I chose this color because it is very close to the color of the Balsa Foam, that way, if I miss a spot or two it won't really show.
|
 |
After the base coat dries, everything blends together.
|
Once the base coat is dry it's time to darken up all of those cracks and crevasses with a heavy spray of diluted India Ink. This greatly darkens the whole thing but I'll bring back the highlights in the next step.
 |
Darkened with India Ink. The ink is diluted about 8:1 with water and applied with an inexpensive spray bottle.
|
Now it's time to break out the artist's acrylics and really bring things to life! I used what I had on hand for this project but prefer the inexpensive
Liquitex Basics for this kind of thing. Any craft store acrylics will do, just keep the colors earthy.
 |
The colors and brushes I used. Raw Sienna is the main color and the rest are used sparingly as accents.
|
The technique is simple: using a fairly dry brush, apply color only to the surface areas of the rocks, leaving the dark cracks and crannies to show through. Here I'm using a 1" filbert brush, but any soft 1" brush will do.
 |
Applying raw sienna. I use an up and down, back and forth motion, just touching the ends of the bristles to the surface of the rocks.
|
 |
Here I'm applying a lighter color, Buff Titanium, to one of the "limestone" layers. It's important to refer back to photos and see how these sedimentary rocks are layered and colored.
|
 |
Dry-brushing highlights. Using just a little paint and a very light touch to add highlights and bring out all of the craggy detail. This step really bring the rocks to life. The color here is Buff Titanium; pure white would be too strong. I've also moved the butte back to the layout for this step, the better to blend colors with existing scenery.
|
 |
Adding streaks and shadows. Now I use my accent colors, Burnt Sienna, Red Oxide and Burnt Umber to add depth to the shadows and mineral streaks where water might run off. It's a good idea not to overdue the reds. A little goes a long way and too much will make the rocks look cartoony. Working with a light touch and just a little paint, the colors blend quite naturally as you go. No need for an airbrush here.
|
Paintings Strata Lines
Rocks in canyon country are stacked up on each other like a layer cake. I represented much of this in the carving and sculpting steps, but in the final details I used paint to show the smaller, subtler layers. A lot of people might skip this step, but I think it really adds a lot to the realism.
 |
Using a #00 brush to add lines. The tricky part is keeping them straight and parallel.
|
 |
White lines like this are usually cause by limestone intrusion between layers of sandstone. Here they are done with Buff Titanium acrylic paint.
|
Desert Varnish
Another distinguishing characteristic of rocks in canyon country is a dark mineral staining on the rock, known locally as desert varnish. It's a mixture of manganese, iron oxides and organic matter that stain the rocks dark brown to black in places where water runs off. I simulated this with a little Ivory Black and Burnt Umber, dry-brushed separately onto the surface and allowed to mix and blend together.
 |
Adding "desert varnish."
|
Pictographs and Petroglyphs
Canyon country is also full of ancient ruins and rock art from the Anasazi people who lived there long ago. I thought it would be fun to add a little neolithic graffiti to my rocks so I created a small panel of them beneath a rocky overhang. Thunder Mesa country is sacred ground to the natives after all.
 |
Using Buff Titanium and a #00 brush to add a little ancient history.
|
 |
The final paint job.
|
Real Dirt and Rocks
Nothing looks more real than reality so I used real rocks and red dirt from nearby
Sedona, AZ, to represent talus and give a finished, dusty look to Baxter's Butte.
 |
From my personal dirt collection: Sedona Red.
|
 |
Brush on some undiluted matte medium...
|
 |
Sprinkle on some dirt...
|
 |
Sprinkle on more dirt and use isopropyl alcohol to hold it temporarily in place. Alcohol does not have the surface tension of water and so will not wash the dirt away. Here I'm using a pipette made from a soda straw to apply the alcohol.
|
 |
Once everything is in position, a liberal amount of diluted white glue (1:1) is used to stick it all down.
|
Plants and a Few More Rocks
Once the glue was dry, I brushed off any loose dirt and then used full strength white glue to add a few more small rocks here and there to represent talus that has fallen down the slope. The final step was adding some sparse desert vegetation.
 |
Buttes in canyon country may look like nothing more than bare rock, but hardy desert plants do find a foothold here and there. Here I'm applying small spots of white glue to one of the talus shelves where I want bushes to be "planted."
|
 |
Woodland Scenics Extra Coarse Turf being worked into the glue.
|
 |
Gluing in a few more rocks.
|
 |
Woodland Scenics grass ready to be cut to length and planted.
|
 |
Just a clump here and there is enough. You don't want to overdo the greenery, this is the desert after all.
|
Finished!
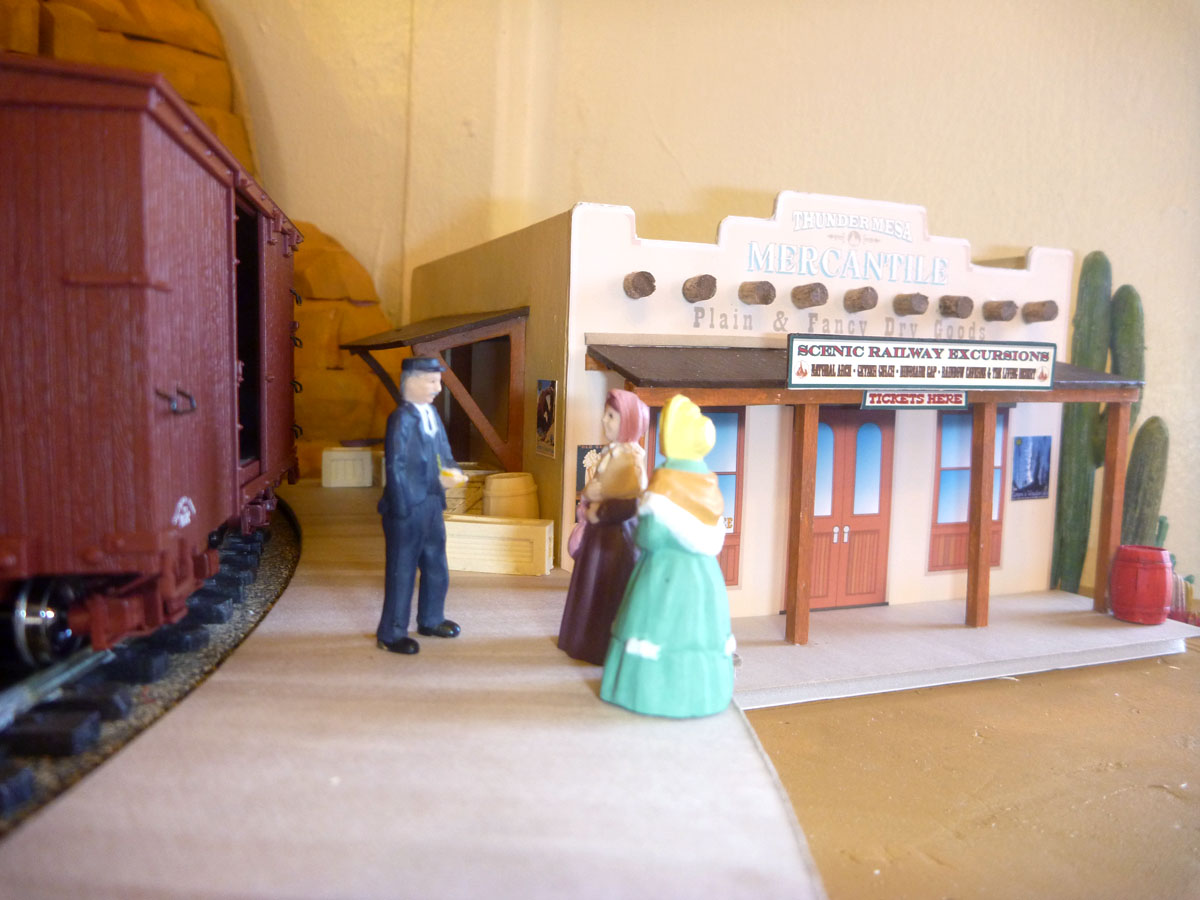
I'm very pleased with the way Baxter's Butte has turned out, and even happier to finally be finished with it. Wrapping it up has inspired me to get on with the other scenery projects on the layout and I just might be tackling the Cactus Forest next. Thanks for coming along with me on this tutorial, I sincerely hope that if you've read this far you've found it helpful. Here are a couple more shots of the butte in place on the layout:
As always, questions and comments are welcome! Thanks for checking in.